

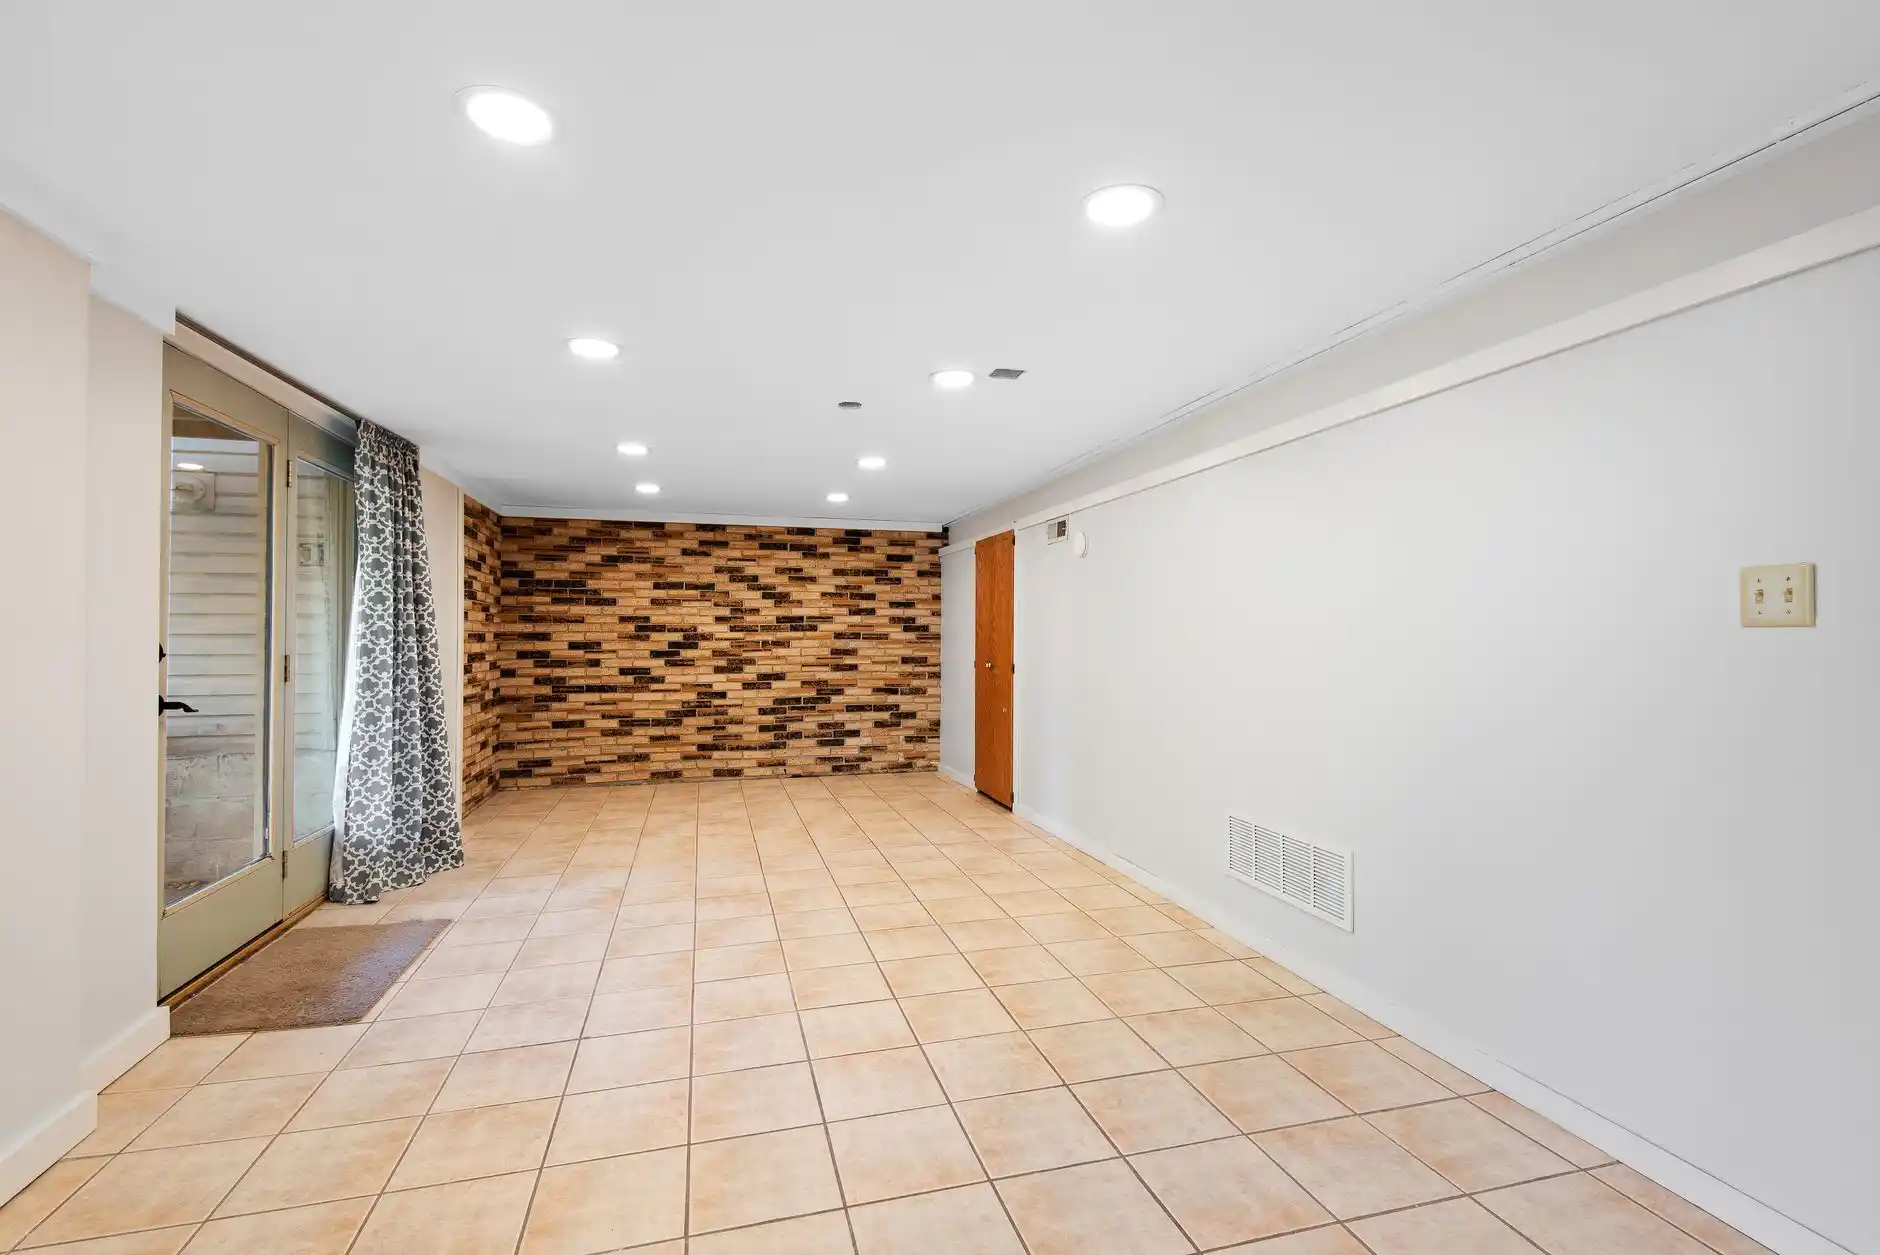
Finishing a basement is not the same as framing walls around an unfinished lower level.
A basement sits against soil, often contains major building systems, and may have been built decades before anyone planned to use it as comfortable living space.
In Seattle, the right basement-remodel sequence starts with water, structure, code, and utilities. Flooring, paint, cabinetry, and furniture come later.
If you are still evaluating feasibility, read Basement Remodel Cost in Seattle: What Actually Changes the Price? first. Cost is determined largely by the conditions that must be solved before finishes can begin.
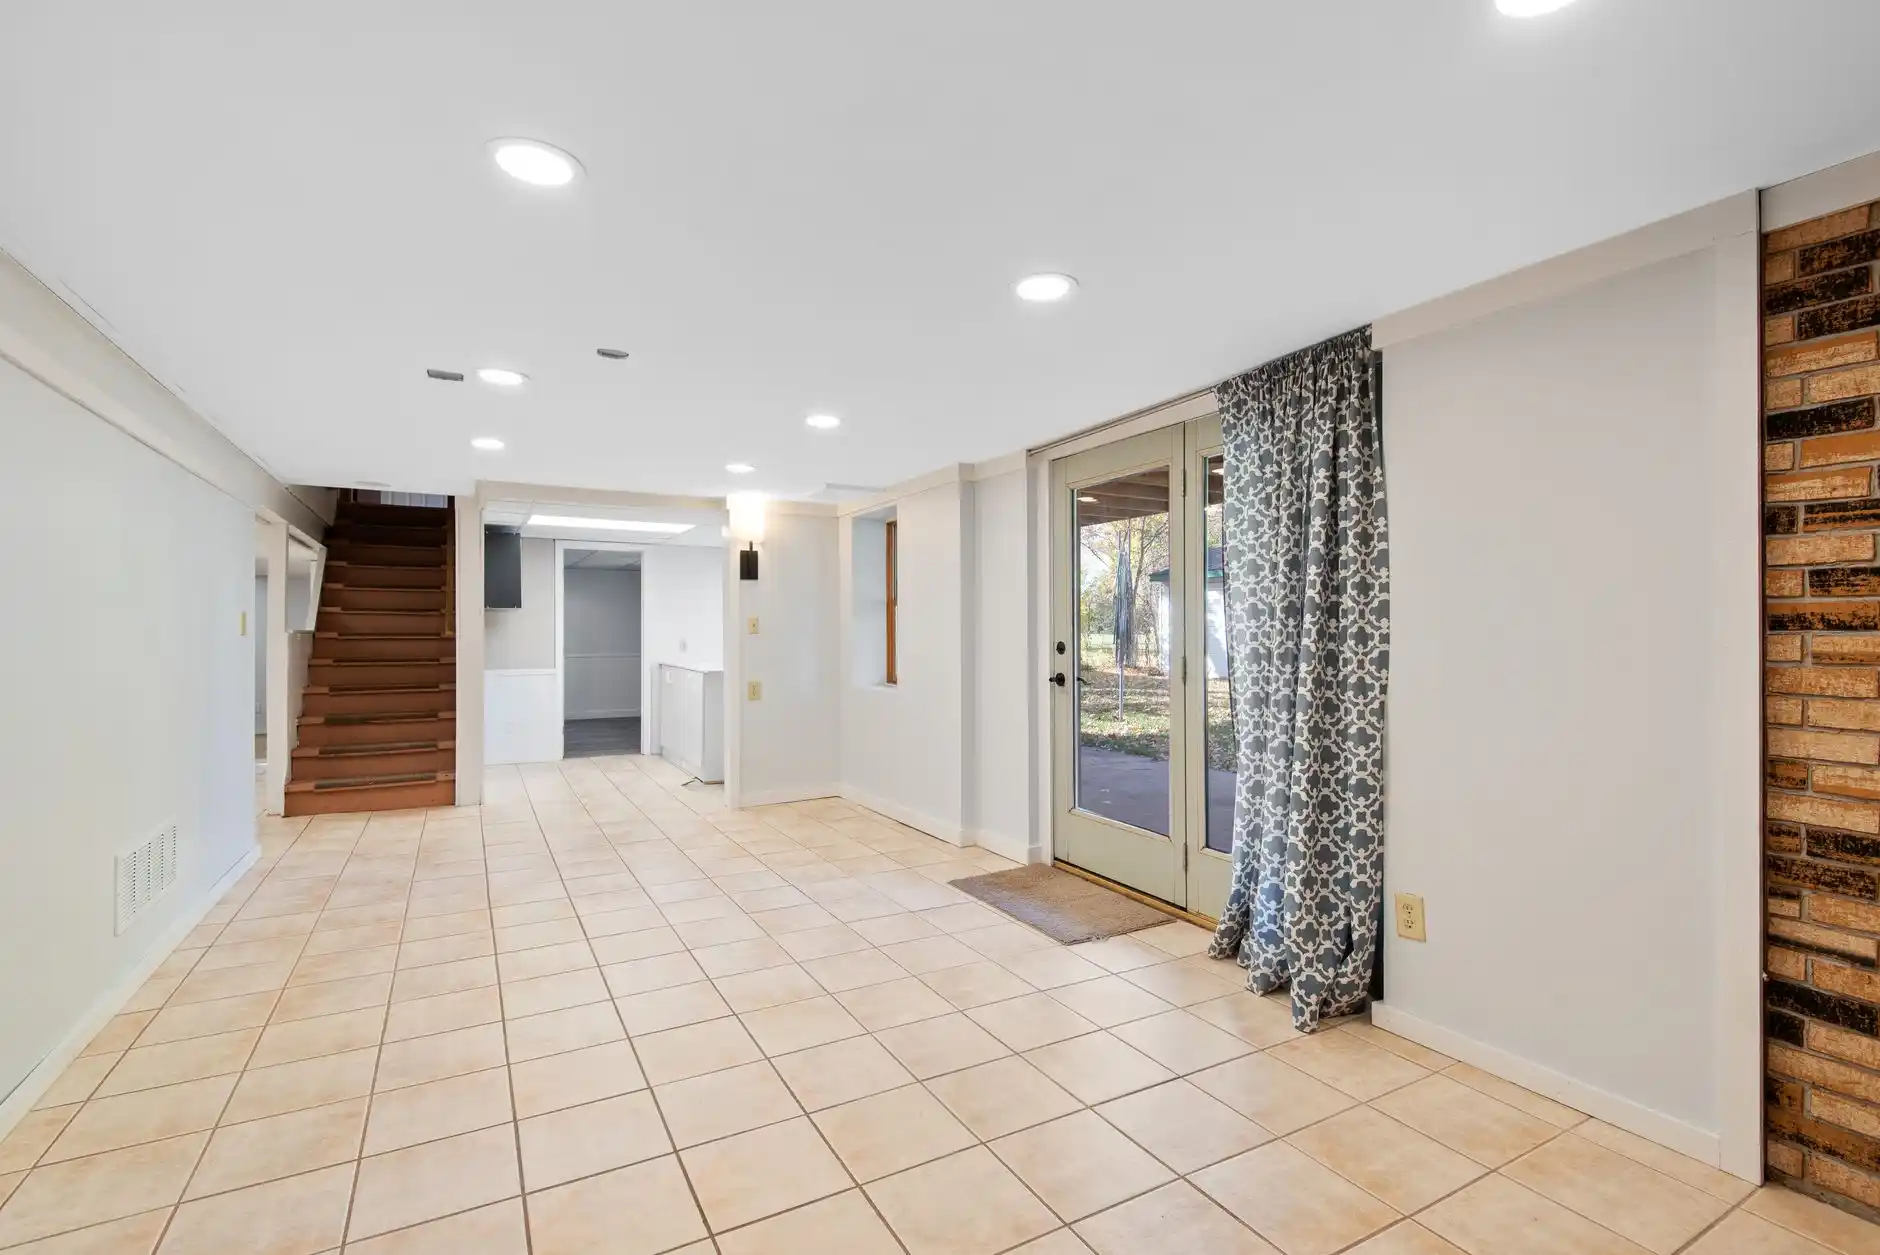
Step 1: Decide What the Basement Will Be
A family room, gym, office, bedroom, bathroom, laundry room, guest suite, and accessory dwelling unit create different requirements.
A bedroom introduces sleeping-room egress considerations. A bathroom adds plumbing and ventilation. A kitchenette adds more electrical and plumbing work. An ADU adds an entirely different level of planning and permitting.
Do not start with a generic “finished basement” plan.
Define the use of each area first.
Step 2: Investigate Water and Moisture
Look for efflorescence, staining, musty odors, soft materials, rust, peeling paint, damp slab edges, and signs of seasonal seepage.
Then investigate outside.
Where do downspouts discharge? Does grade slope toward the foundation? Are exterior drains functioning? Are there low areas against the house? Is a retaining wall affecting drainage?
Interior waterproof coatings are not a universal solution.
The correct repair depends on the source of moisture.
A basement should demonstrate stable water behavior before moisture-sensitive finishes are installed.
Step 3: Evaluate the Foundation and Structure
Foundation cracks should be evaluated in context.
Some cracks are old and stable. Others may indicate movement, water entry, or a condition that deserves closer review.
Look at beams, posts, joists, stair openings, and any framing altered by previous owners.
If the plan removes posts, cuts new foundation openings, changes stairs, or modifies structural framing, engineering may be required.
See When Does a Home Remodel Need a Structural Engineer? before finalizing a layout that depends on structural changes.
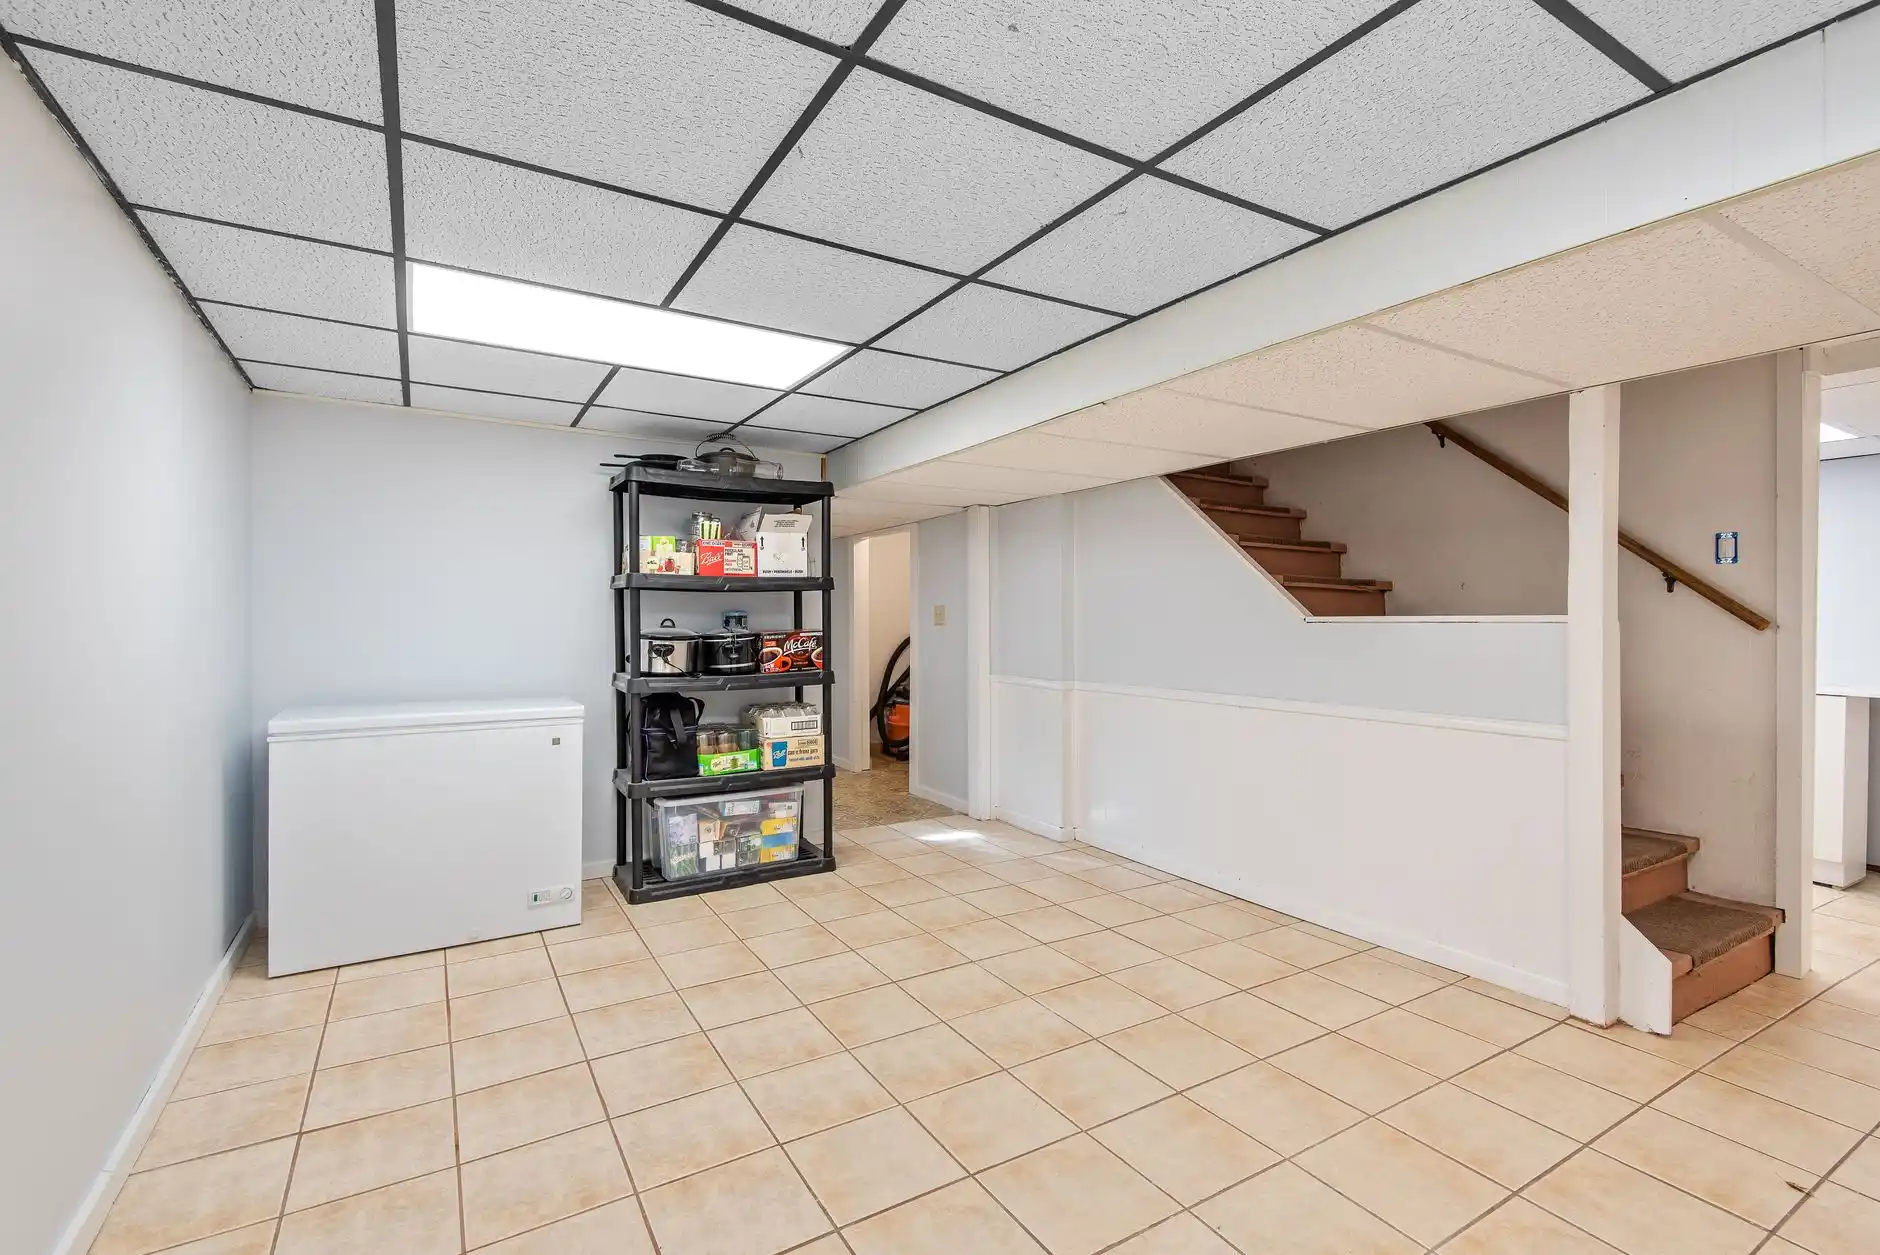
Step 4: Check Ceiling Height Before Designing Rooms
Older Seattle basements often have ducts, pipes, beams, and low framing.
Ceiling-height requirements can depend on the code path and existing building conditions. Existing-building provisions can differ from requirements for new construction.
The important point is not to assume that every basement can become habitable space simply because a finished ceiling can physically be installed.
Measure the existing conditions, identify low obstructions, and verify the requirements for the proposed use before drawing bedrooms or other habitable rooms.
Trying to “solve” height after the design is complete can lead to major cost.
Step 5: Plan Egress Early
Sleeping rooms can require emergency escape and rescue openings.
That requirement can change window size, window-well design, excavation, drainage, landscaping, and structural work at the foundation wall.
If a basement bedroom is part of the plan, egress should be addressed during design, not at final inspection.
The opening needs to function as part of a safe escape route, not merely appear large in a drawing.
Step 6: Review the Permit Path
Seattle requires permits for many basement alterations.
Structural changes, work affecting egress, and many electrical, plumbing, and mechanical scopes require permits or trade permits.
A basement that is being converted into more intensive living space may need more review than a simple finish update.
The exact permit path depends on the work.
Do not use a neighbor’s project as the permit standard for your own house. Two basements can have different existing conditions, legal uses, and scope.
Step 7: Map Plumbing Before Framing
Basement plumbing is often controlled by the building’s existing drain and sewer configuration.
Identify the main stack, cleanouts, water lines, sewer elevation, and likely routes before placing a bathroom or wet bar.
A bathroom located close to existing plumbing may be straightforward.
Moving it to the other side of the basement can require long drain runs, slab cutting, vent coordination, and possibly pumping depending on elevation.
The floor plan should respect the infrastructure whenever possible.
Step 8: Coordinate HVAC and Electrical
Basements frequently contain furnaces, heat pumps, water heaters, electrical panels, duct trunks, and utility connections.
Required clearances and service access matter.
Do not build a beautiful wall that blocks equipment replacement.
For electrical planning, consider lighting, outlets, office loads, entertainment equipment, bathroom circuits, laundry, and any future kitchenette.
For HVAC, consider comfort and ventilation rather than assuming the existing system can serve new conditioned space without review.
Step 9: Design the Insulation and Wall Assembly
Below-grade walls behave differently from above-grade walls.
The insulation system should account for foundation material, moisture conditions, climate, air sealing, and the ability of the assembly to dry.
The wrong combination of materials can trap moisture.
This is an area where copying a generic detail from another climate is risky.
Existing Seattle homes also vary widely. A poured-concrete basement, masonry foundation, partially above-grade lower level, and older mixed foundation may need different approaches.
Step 10: Build in the Right Order
Once moisture, structure, code, and systems are resolved, construction can proceed.
A typical sequence may include demolition, structural work, underground plumbing when needed, framing, rough plumbing and electrical, HVAC modifications, inspections, insulation, drywall, waterproofing in wet rooms, tile, millwork, flooring, paint, fixtures, and final inspections.
This follows the same dependency logic as In What Order Should You Renovate a House?.
Step 11: Choose Basement-Friendly Finishes
Finish materials should fit the environment.
Flooring should be selected with slab moisture and below-grade use in mind. Baseboards and wall details should allow practical maintenance. Bathroom assemblies need proper waterproofing. Storage should not hide important valves or cleanouts.
The best basement does not look “basement-proof.” It simply uses materials intelligently.
Step 12: Plan for Future Access
One of the easiest mistakes is covering every utility.
Cleanouts, shutoffs, junctions, pumps, filters, equipment, and other service points need access.
A finished basement should make the house easier to live in, not harder to maintain.
Older Seattle basements deserve especially careful planning because previous repairs and hidden conditions may be present. The article Hidden Problems in Older Seattle Homes That Can Change a Remodel Budget explains what to watch for.
Can a Finished Basement Become an ADU?
Possibly.
A basement ADU adds requirements beyond a standard recreation room or guest space. The unit needs to be designed and permitted as an accessory dwelling unit, with the required living facilities, life-safety provisions, and code compliance.
United Signature already covers this topic in Converting Your Basement into a Legal ADU.
If an ADU is the long-term goal, design for that purpose from the beginning rather than finishing the basement now and rebuilding it again later.
FAQ
Do I need a permit to finish a basement in Seattle?
Many basement remodels require permits depending on scope. Structural changes, egress work, electrical, plumbing, mechanical changes, and conversions can trigger building or trade permits.
Can I add a bedroom to a Seattle basement?
Potentially, but sleeping rooms can have egress and other code requirements. The existing basement conditions should be reviewed before the room is marketed or treated as a legal bedroom.
Should I waterproof the basement before framing?
Any active moisture source should be investigated and corrected before moisture-sensitive finish work is installed.
What insulation is best for a Seattle basement?
There is no universal product. The correct assembly depends on the foundation, moisture behavior, existing construction, and code requirements.
Can I cover the ceiling to hide pipes and ducts?
Yes, but access, ceiling-height requirements, equipment clearances, and future maintenance need to be considered.